Assembling A New Greenhouse
Food prices are one of the main drivers of inflation here in the UK. Combined with periodic shortages due to supply chain failures, we've decided to increase the amount we grow ourselves. It also helps that home-grown food always tastes so much nicer !
Last year, with a single raised bed and some large planter buckets we had enough tomatoes and potatoes that we didn't need to buy any for three months. Our garden isn't anywhere near big enough that we could be totally self-sufficient, but we know we can still do a lot better than last year. So to get new crops off to a good start, we decided it was time to get a greenhouse.
The one we got is a lightweight one, very much built down to a budget. It's marked as from GardenGearOnline, but I suspect it's a generic type.
All photos in this post are by me.
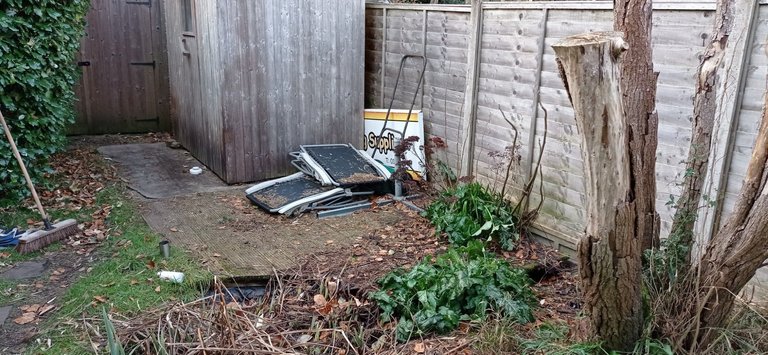
This is where it's going to go, on the decking between the sauna and the pond. This is the "before" shot, I need to tidy up the bits & bobs on the decking, cut back some of the plants, unscrew the base to the long-gone sun shade (not much use in the UK...), and give it a good sweep.
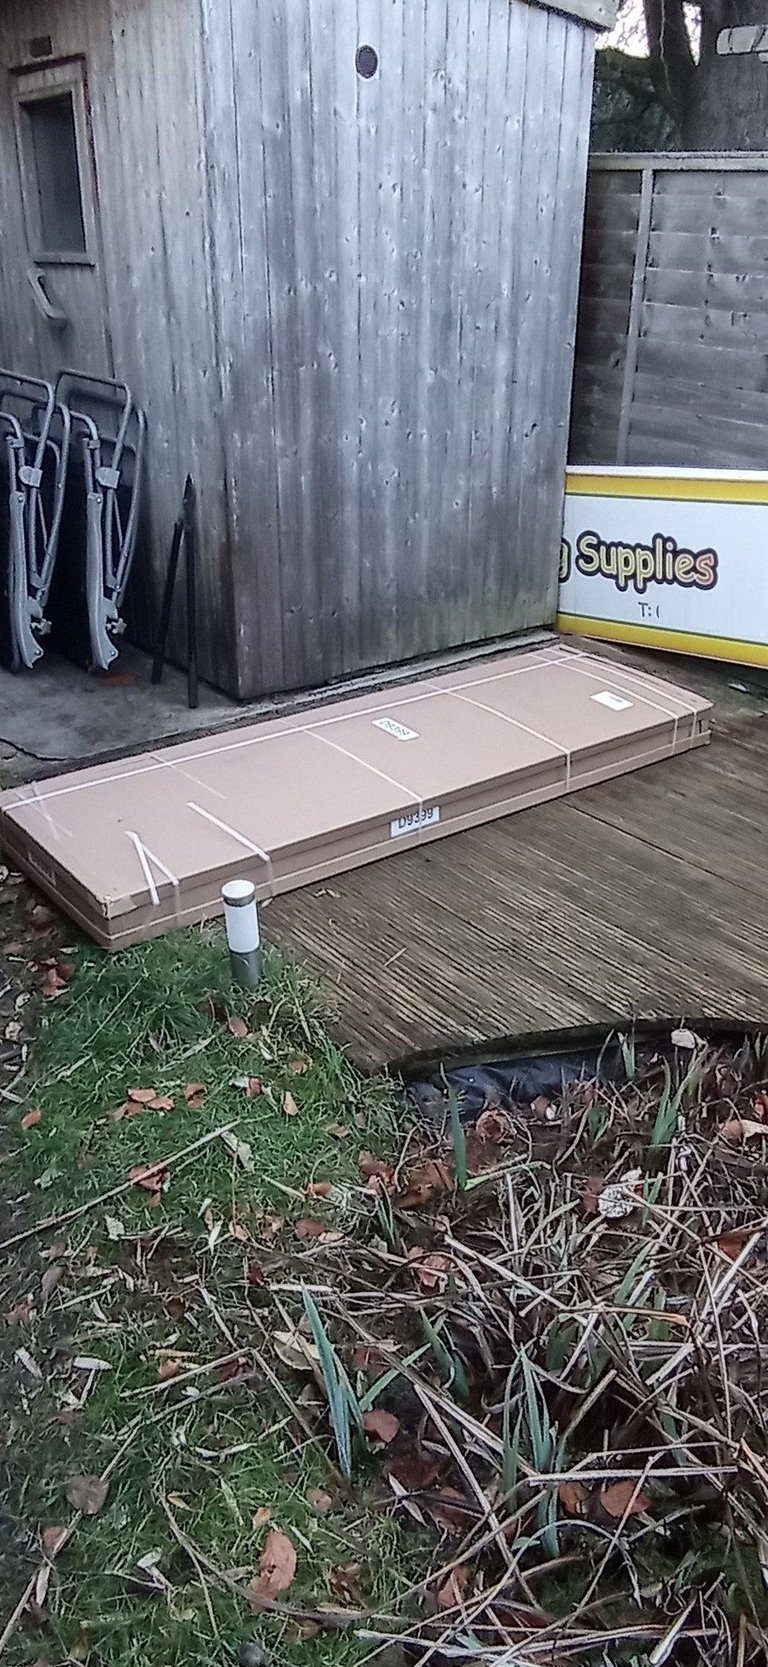
Here's the decking now cleaned up (although the wood is still quite old and stained), together with the box containing the new greenhouse. The old shop sign is having to stay stuffed behind the sauna, because I have no idea where else to put it ! But I've blanked out the phone number, I don't know who has it now.
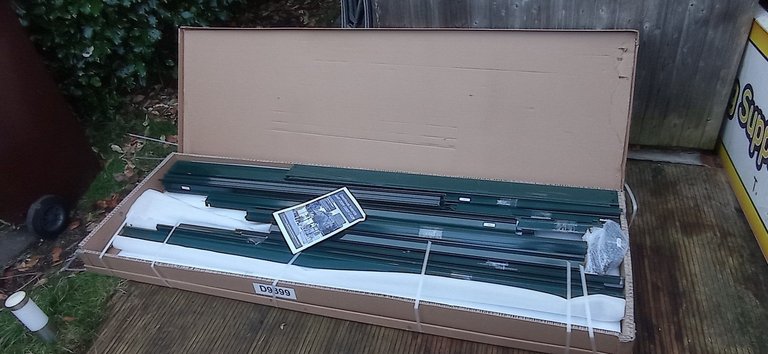
The contents of the box. It includes one spanner which appears to have been made from Plasticine.
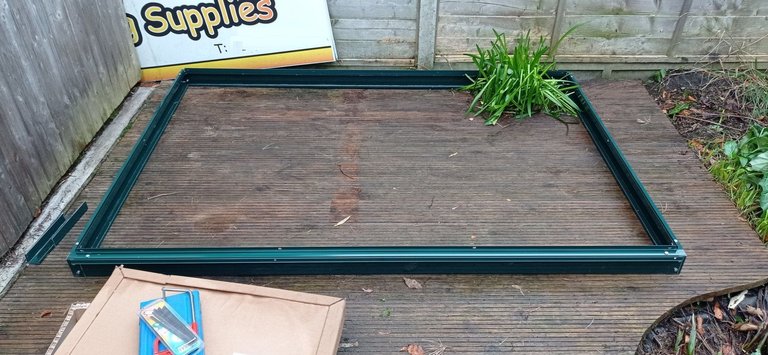
The base assembled. The corner pieces were legs that are designed to be inset into concrete if you're doing it that way, or (as we did) can be sawn off if the base it sitting flush on a surface. Squaring the base up at this point is important ! The clump of plants is in a cut-out in the decking. I'm fine with them there, I've got rid of the self-seeded hazel and lords & ladies, but left the bluebells because they're pretty.
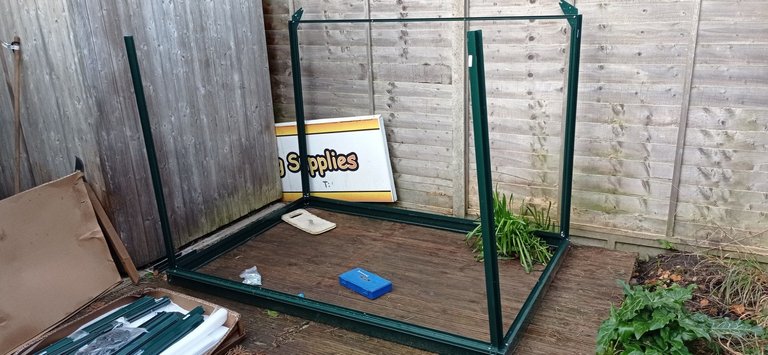
Uprights and one rear horizontal in place. One thing I rapidly worked out was that it was best to only do everything up loosely, and then tighten it all up once the whole thing was assembled.
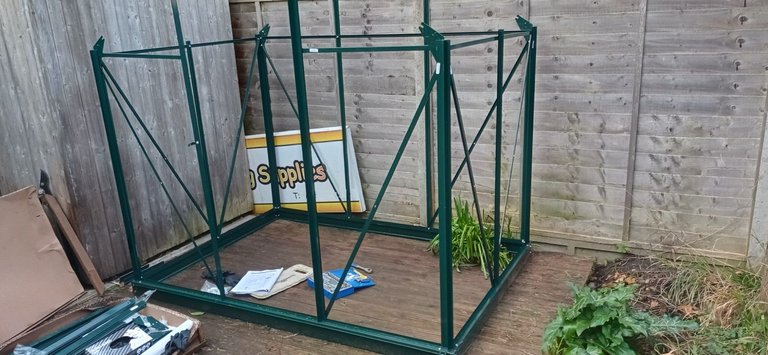
All the horizontals in place, plus the diagonal braces and door uprights. There was quite a bit of re-doing at this stage, as the instructions were very unclear about which way up a lot of the pieces needed to go.
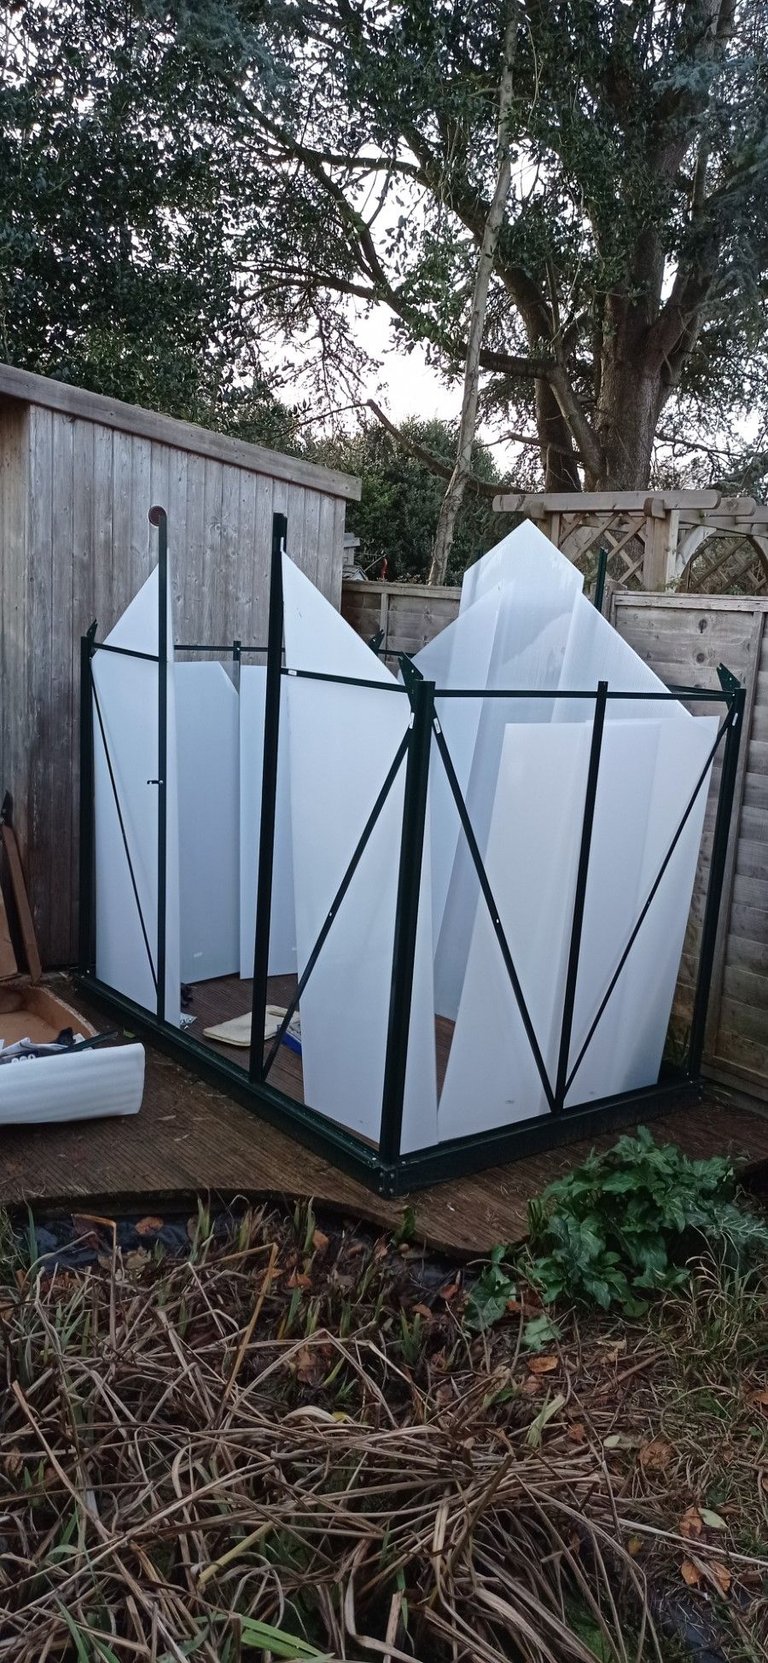
Clear panels rested in place, still with their protective film covers. These are twin-core plastic sheet rather than the traditional glass, and are massively flimsy to keep the manufacturing cost down.
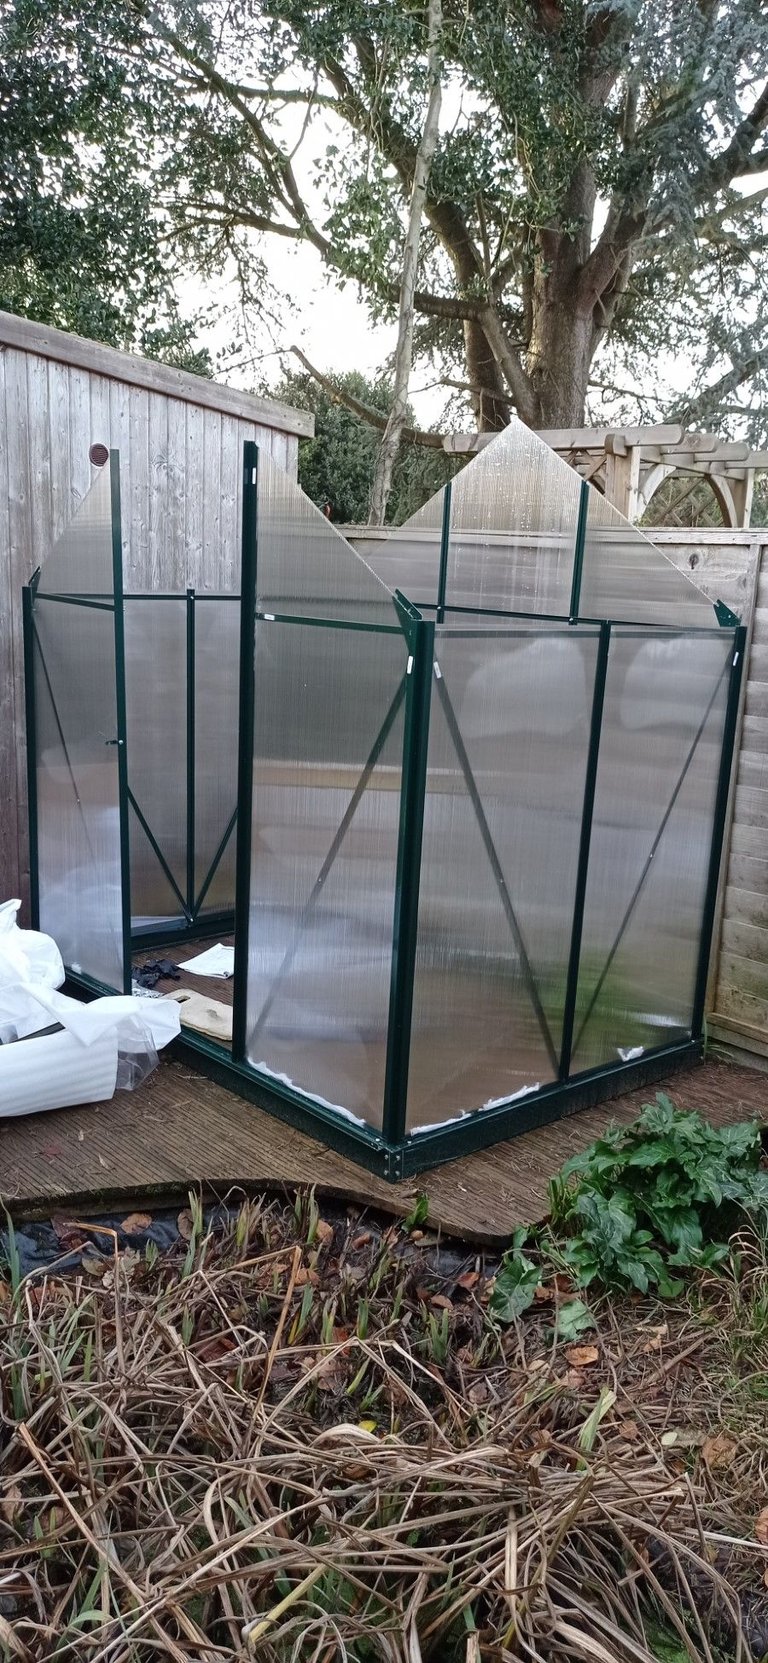
The clear panels in place. They were loose and rattled in the wind, so note that I rolled up some of the protective film and stuffed it into the gap at the bottom of the frame, which significantly reduced the level of rattling. Improvisation is king !
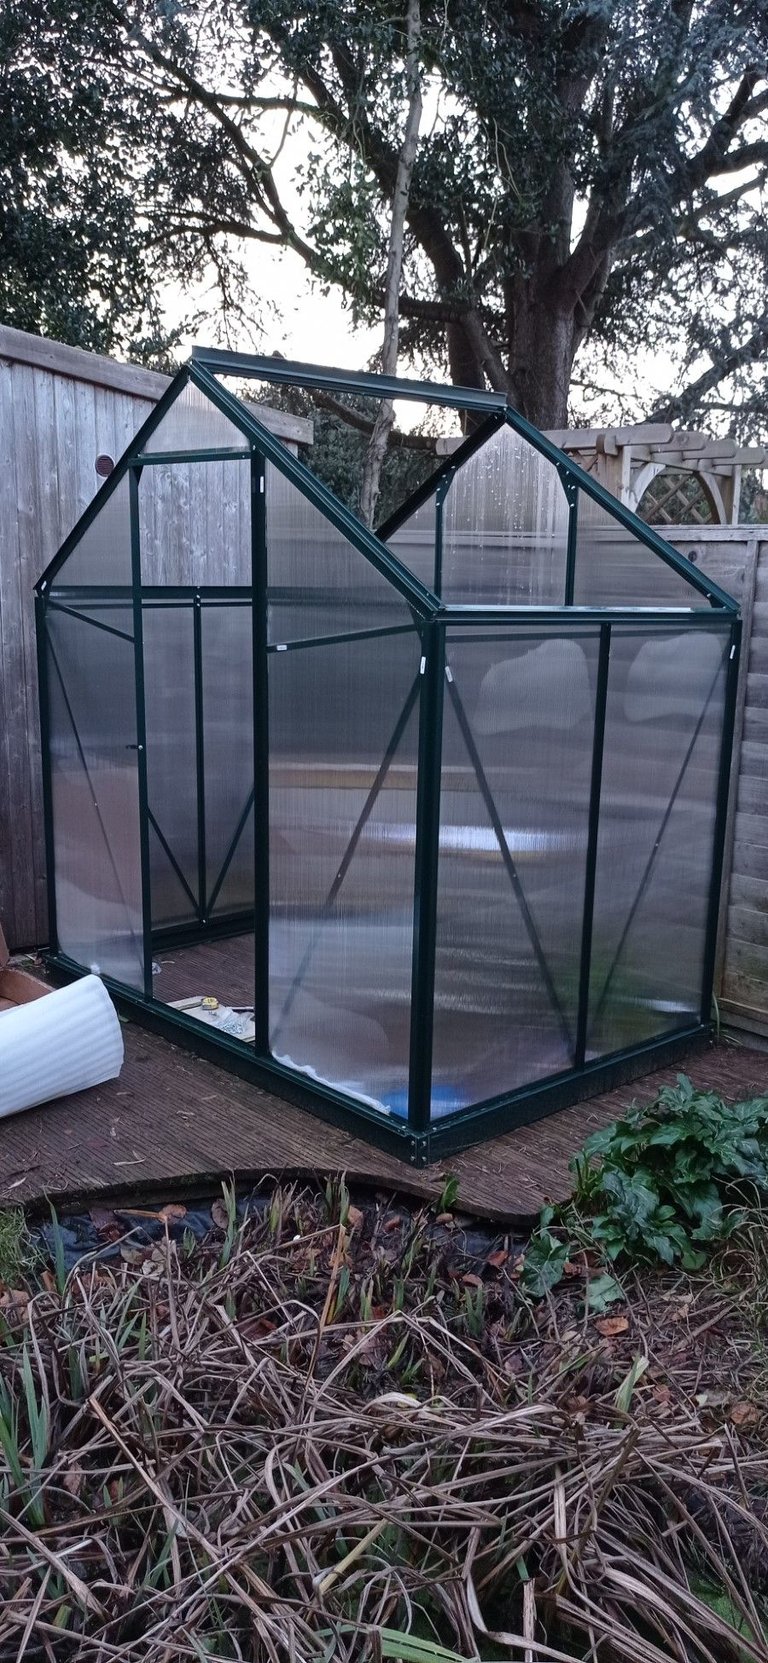
Roof beams in place.
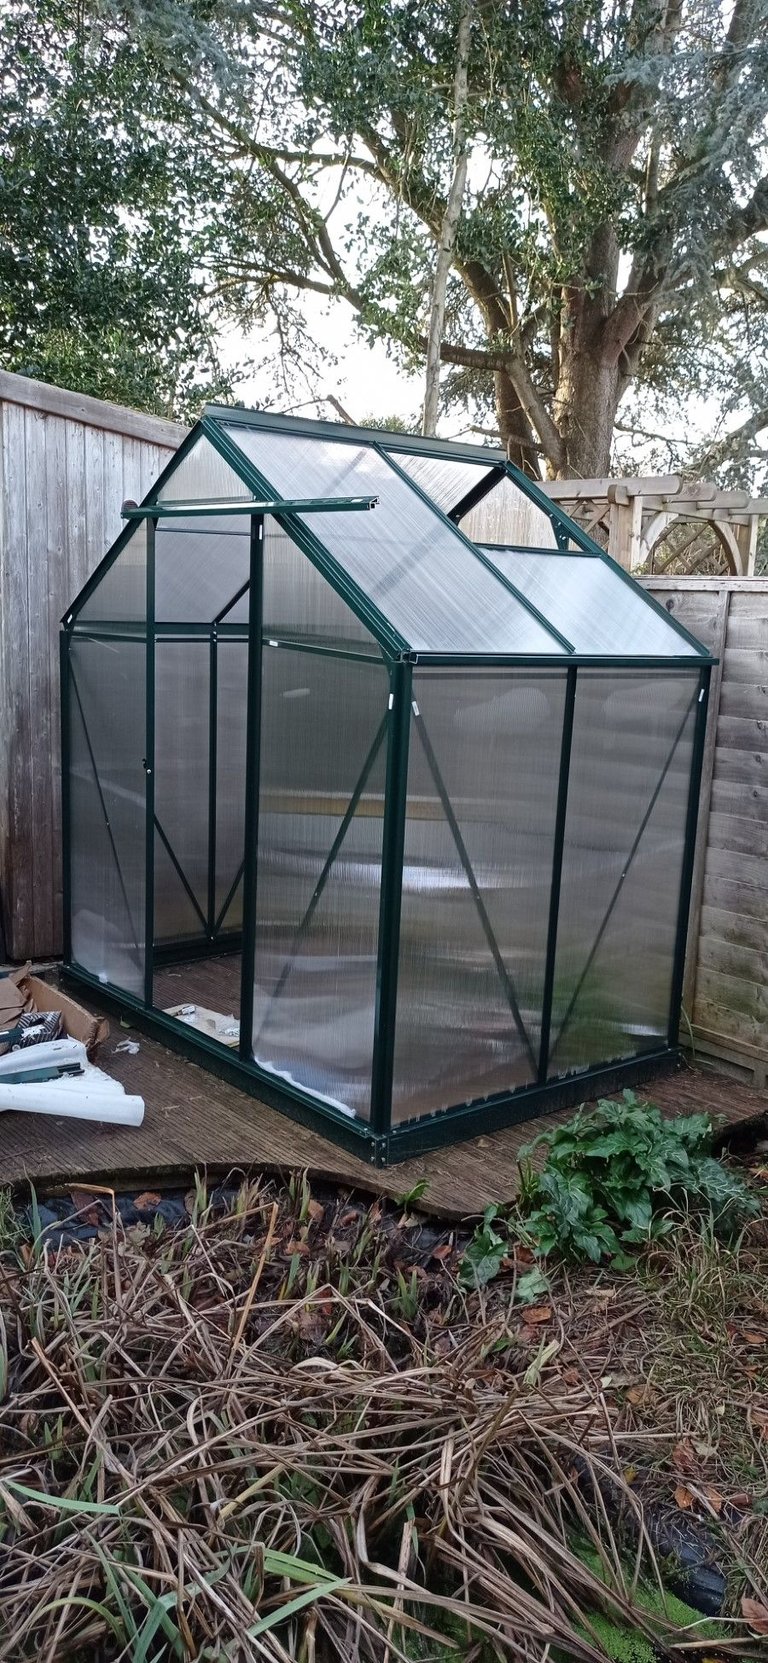
Roof clear panels in place, held by stringers. Also the upper door runner loosely screwed on.
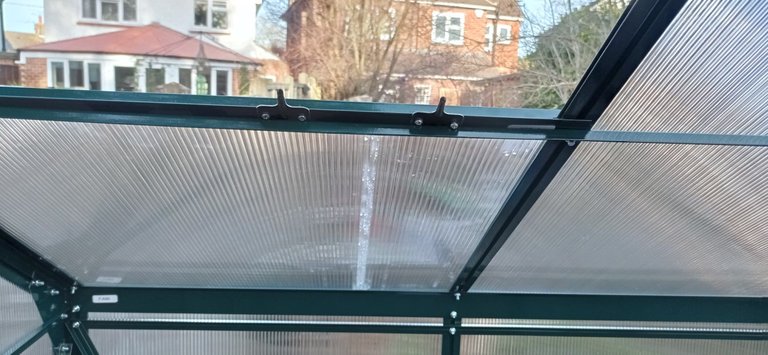
A view from inside, showing the hole where the window goes and the two incredibly flimsy catches used for the window.
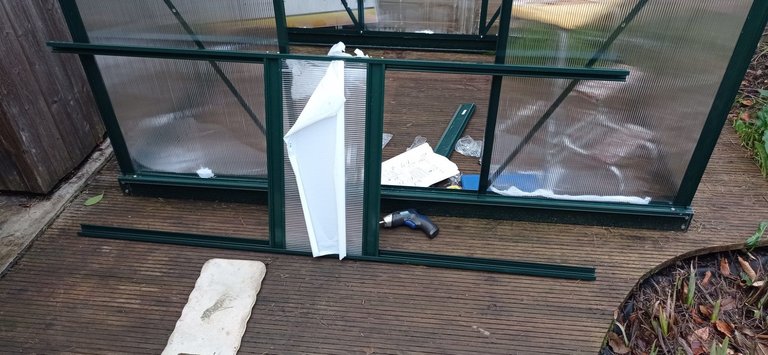
Assembling the door. This was possibly the most frustrating part of the whole build. The section of the instructions for door assembly might as well have been written in Martian it was so unclear, so I ended up taking the whole thing apart and starting again.
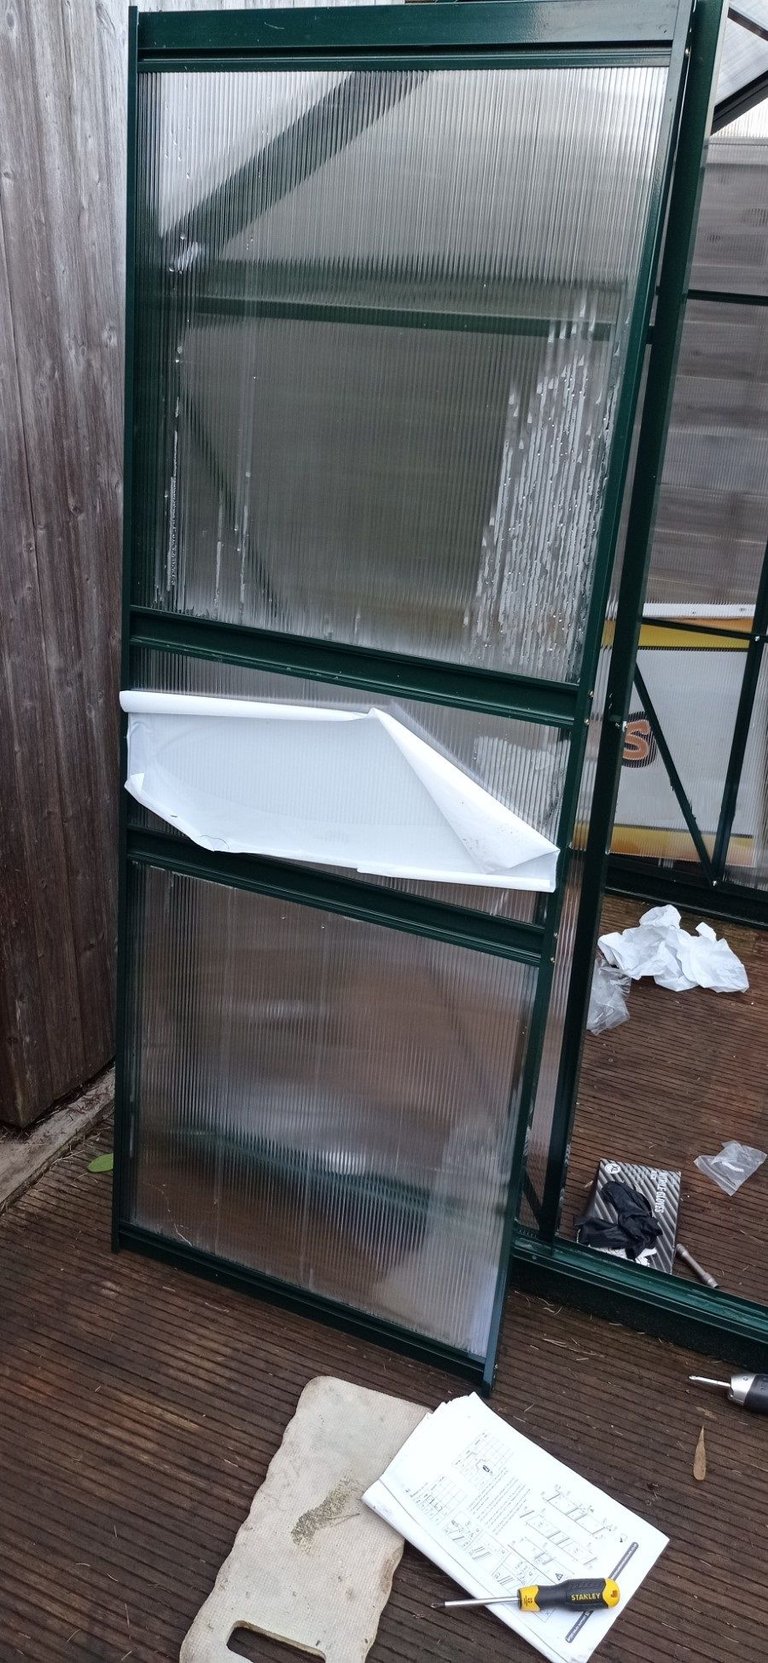
The assembled door.
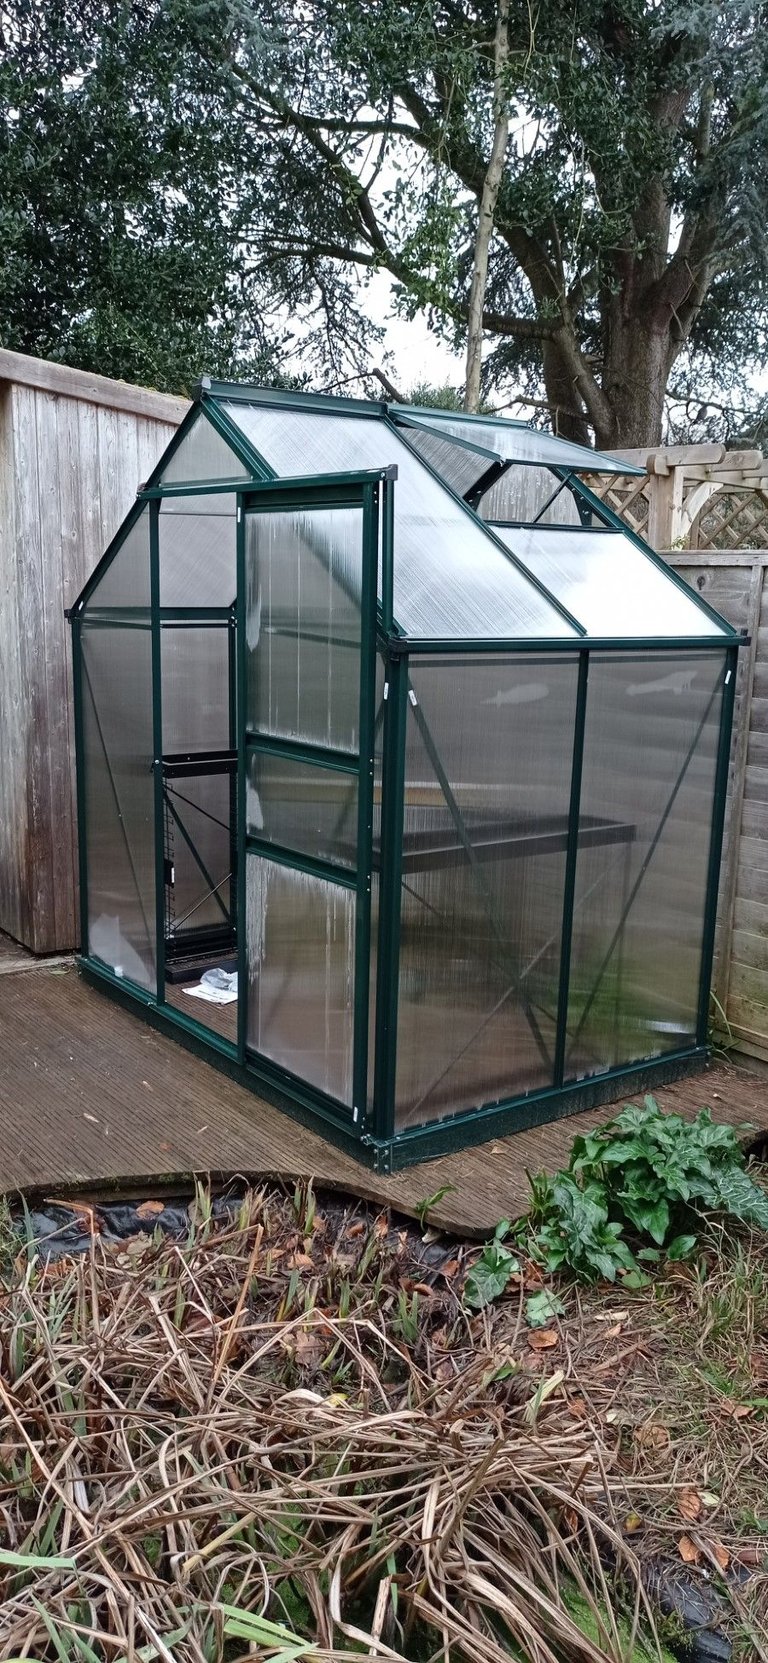
This is the whole greenhouse fully assembled. It didn't include any internal shelves or fittings, but we found some racking that'll do the job nicely.
The lesson I learned from putting this together was that things built down to a budget are designed for ease of manufacture, not ease of assembly. The design was a mix of some really clever choices (e.g. only having a single type of nut and bolt used for the whole thing), and some massively dumb ones (like having lots of sharp metal edges).
The instructions were something else ! They appear to have been written by someone who hadn't actually built the greenhouse, were riddled with typos and steps missed out, and with line drawings that appear to have been done by Stevie Wonder. My advice to anyone else building one of these is to read the instructions thoroughly to work out what goes where, then throw them away and work it out for yourself as you go along !
But by the end of it, we've got a greenhouse which will hopefully enable us to give our new plants a good start 😀
This looks like a lot of work but I bet totally worth it and will make growing food much easier!
Thank you ! I hope so, we've already got windowsills all around the house with plant pots of seeds that should sprout sometime soon...
You have a treasure. I mean: your garden. 🍅 And 🥔 are very expensive here. I think Will not be a Bad idea yo build a garden for the New season.
That's awesome!
But... I have to think about my garden now and whether it is actually cost efficient due to the price of my water bill now...
Hi @alonicus,
Thank you for participating in the #teamuk curated tag. We have upvoted your quality content.
For more information visit our discord https://discord.gg/8CVx2Am