Minor Repairs to a Re-Enactment Napoleonic Habit Longue
I've started doing Napoleonic re-enactment again, after a break of many years. That means pulling all the uniforms and equipment down from the loft, sorting through it to see what fits and what repairs are needed.
The process is slightly complicated because last time I did the hobby, I was commander of a small unit, so I have depot kit for several people, in a variety of shapes and sizes. Also, a lot of my own personal uniform items seemed to shrink in storage (that's my line, and I'm sticking to it....)
With an event to go to this weekend, I spent a chunk of last night making minor repairs to a French Napoleonic habit longue.
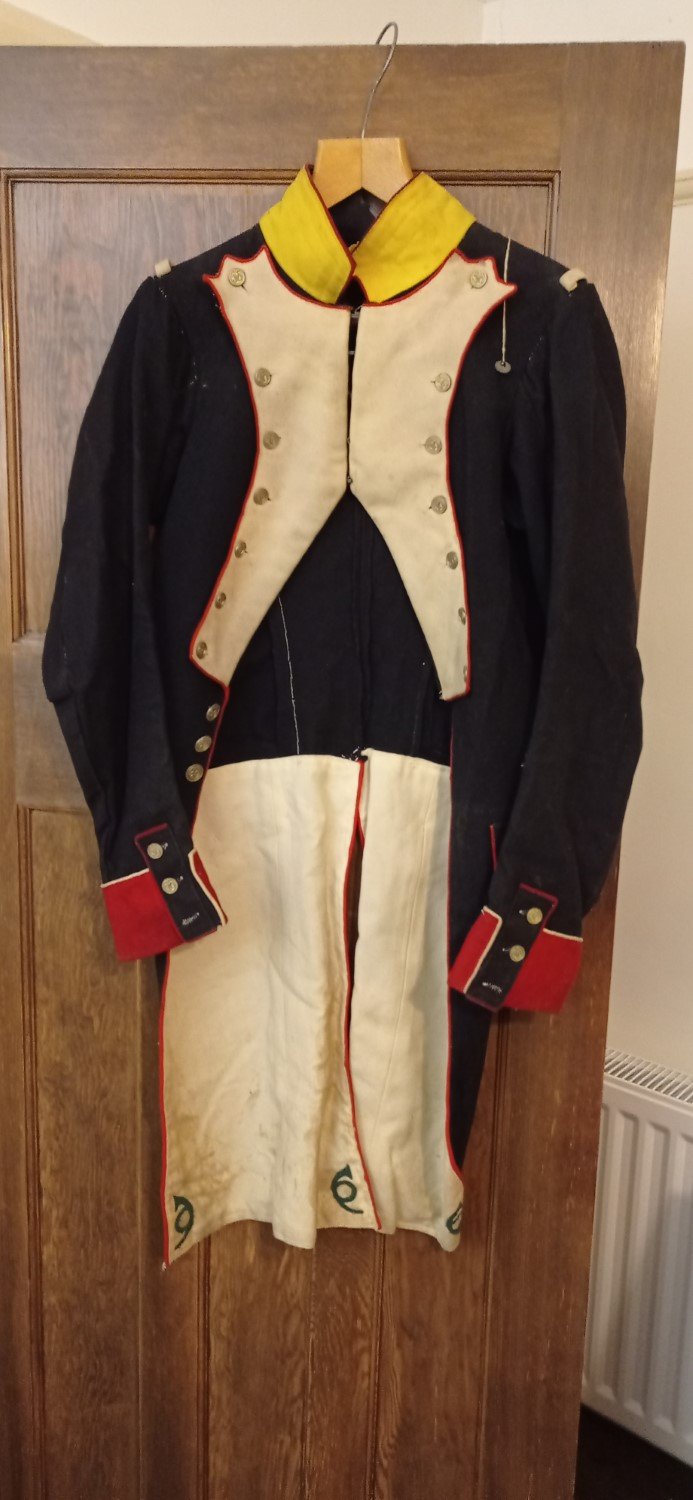
This photo is the coat hanging up. It is mostly unlined, to help stay cool (we tend to re-enact in summer, soldiers at the time had to wear their uniforms all year round). This will help the repair process hugely ! I originally made this habit about 30 years ago, and it has had a hard life, so it's a bit dirty and in need of repair. The repairs I did last night were very much just enough to enable me to wear it this weekend.
As you can see, one of the shoulder buttons has come off and is literally hanging by a thread.
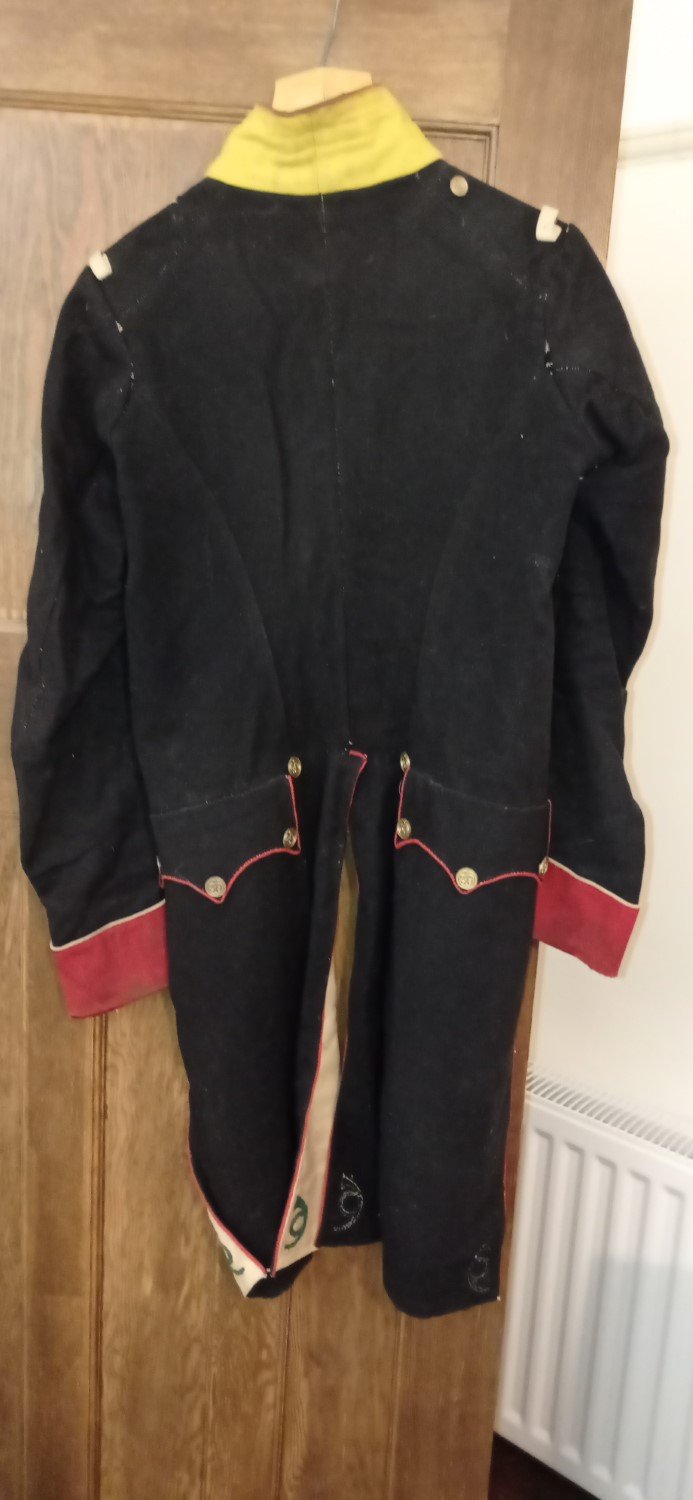
This is the rear view. The right hand tail has come unstitched, and although it's hard to tell, the reinforcing piping on the centre seam has come loose.
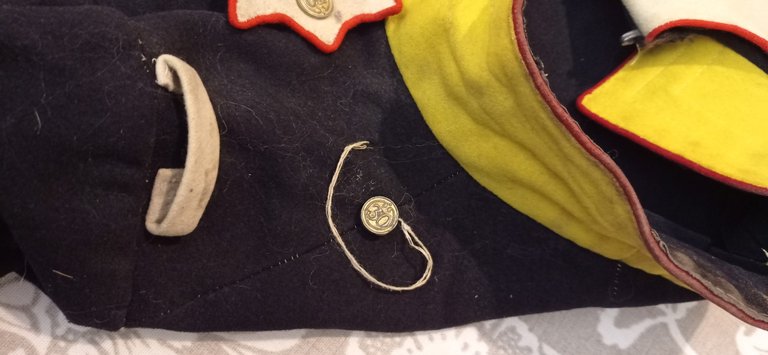
I started with the shoulder button. These are essential, because the button and strap holds the epaulette on, and the apaulette in turn holds the crossbelts which hold the sabre and cartridge box in place.
The button itself is one I cast about 30 years ago, so it has done well !
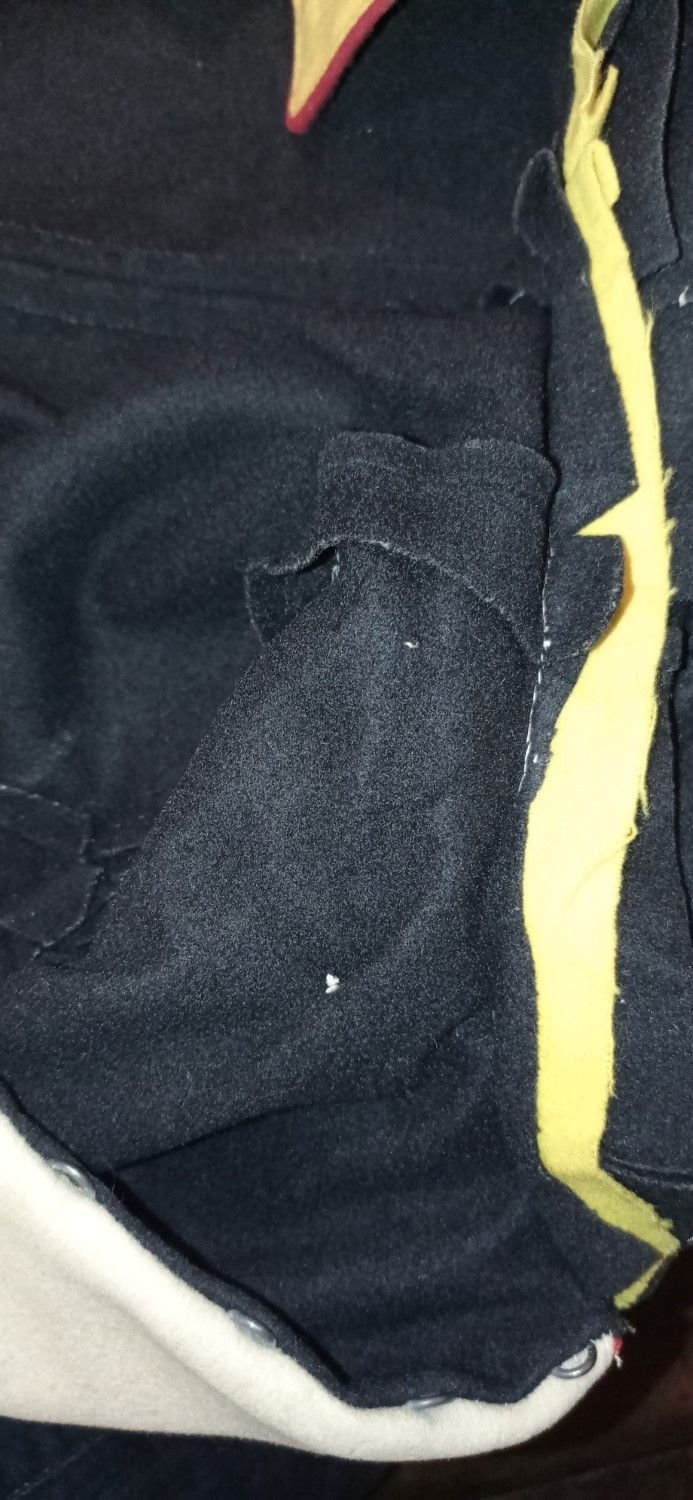
This photo is the insider of the shoulder; to top white dot is the inside of the button fastening. Someone else must have repaired it at some point, it's missing it's patch. Buttons at the time passed through a small hole punched in the cloth, and were sewn to a patch of cloth or leather. That way, when they came apart they were less likely to damage the underlying cloth. But it relies on knowing the patch needs to be there if you do repairs.
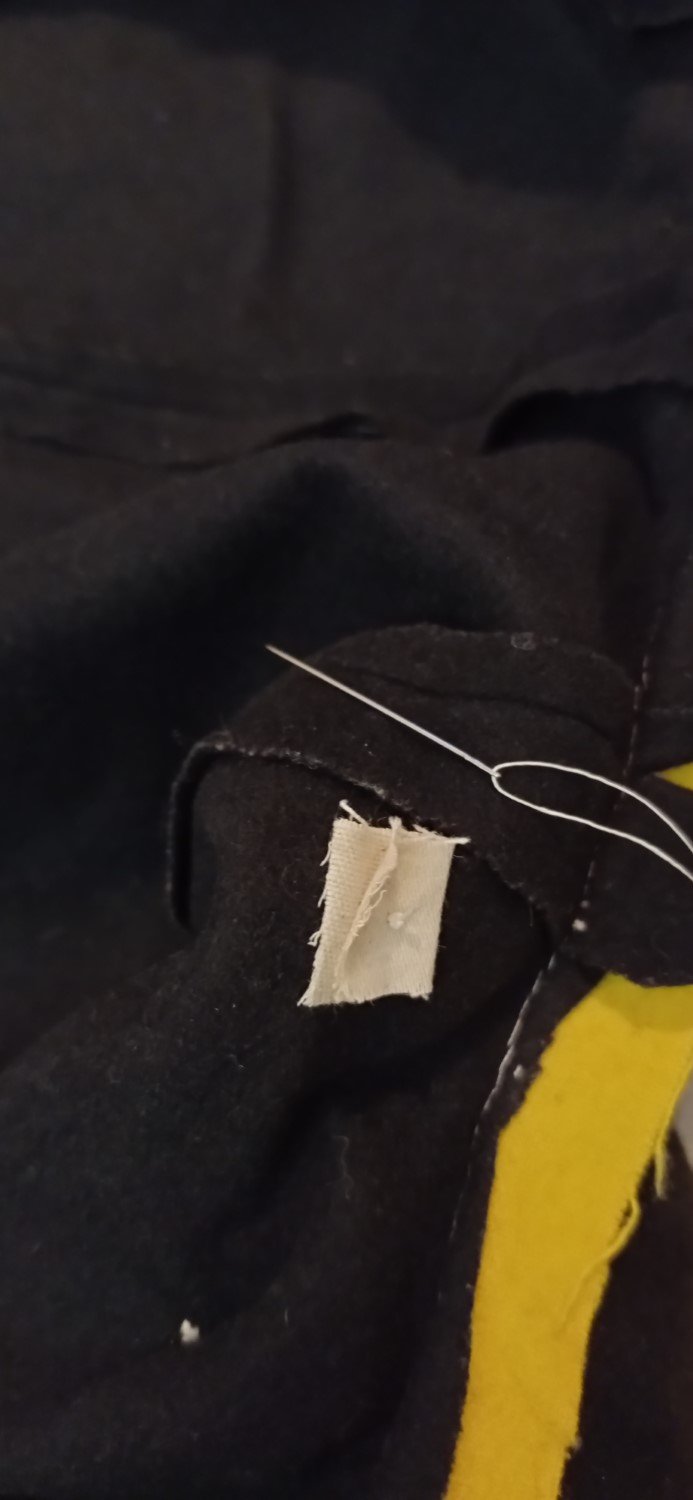
Now with nice new patch. It doesn't show from the outside, so it doesn't have to be pretty, it just has to do a job !
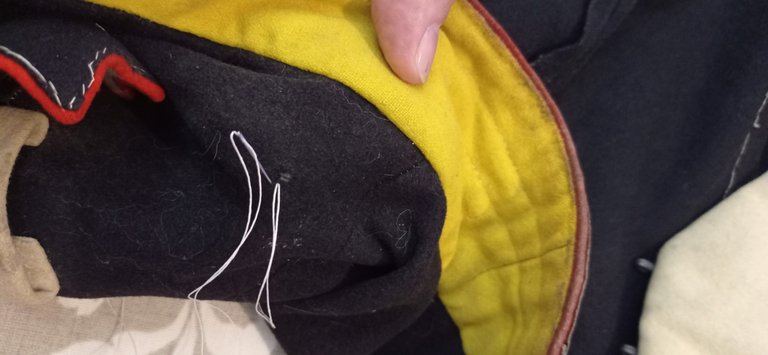
On this shot, you can see the original hole the button thread passed through. I'm actually sewing the repair next to it, because the cloth doesn't look strong enough to work in the original way any more.
I'm using Gutermann linen thread in a natural colour. It's far stronger than cotton thread, which the French had little access to during the Napoleonic Wars (due to the difficulty of trading with Egypt or the Americas due to English naval blockade), so it's the correct material to use. The natural colour is also correct. Back then, labour was cheap and materials were expensive, the opposite of today's world, and dyes were one of the most expensive things of all.
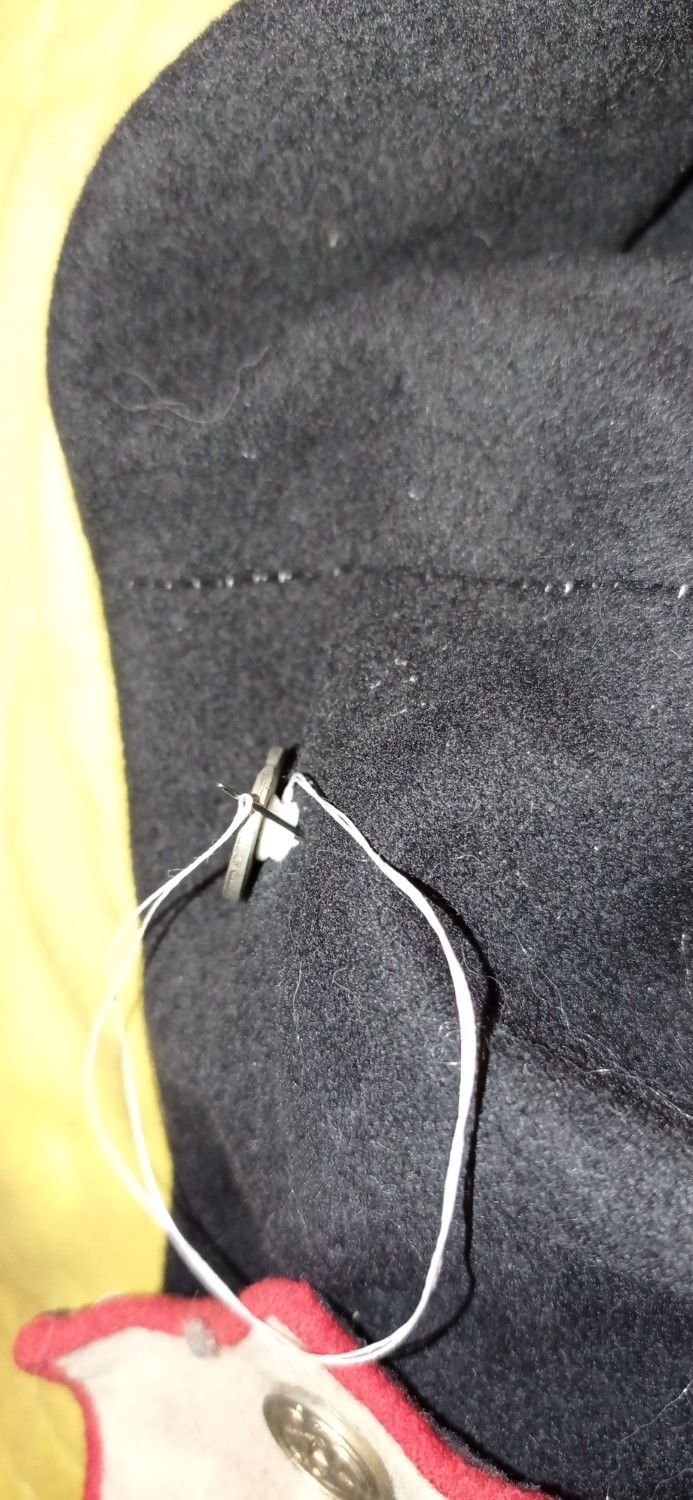
With the button sewn back on, I wound the remaining thread around it to protect the shank and make the button stand proud of the cloth and level. The shanks of military buttons at the time were generally pyramidal rather than the loops usually used nowadays. It makes them stronger, and helps them stay level in relation to the cloth.
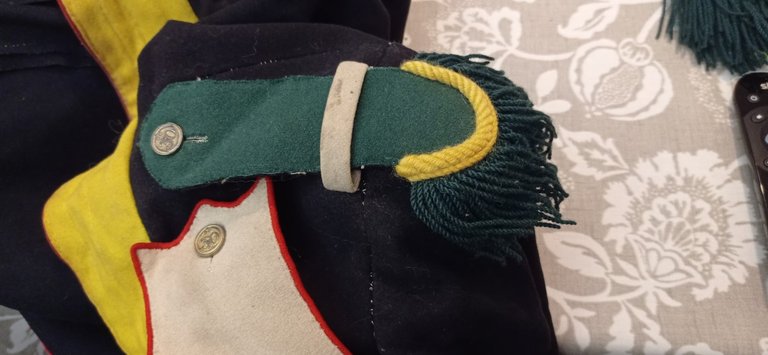
This is the epaulette back on. Much better !
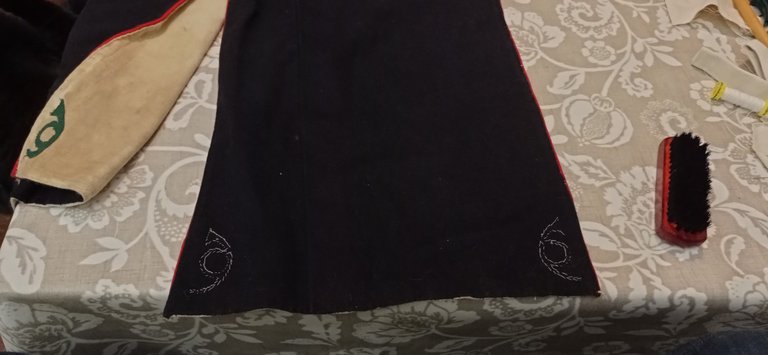
The right hand tail needs the corners stitching together. This design is a bit of a hangover from the 18th Century when military coats were a lot fuller in the tail - more like greatcoats than jackets. Slightly later on, by around 1810, the tails were usually stitched down all the way up (which requires some interesting construction at the point where the piping reverses !), but on this slightly earlier design it's just held by a few stitches.
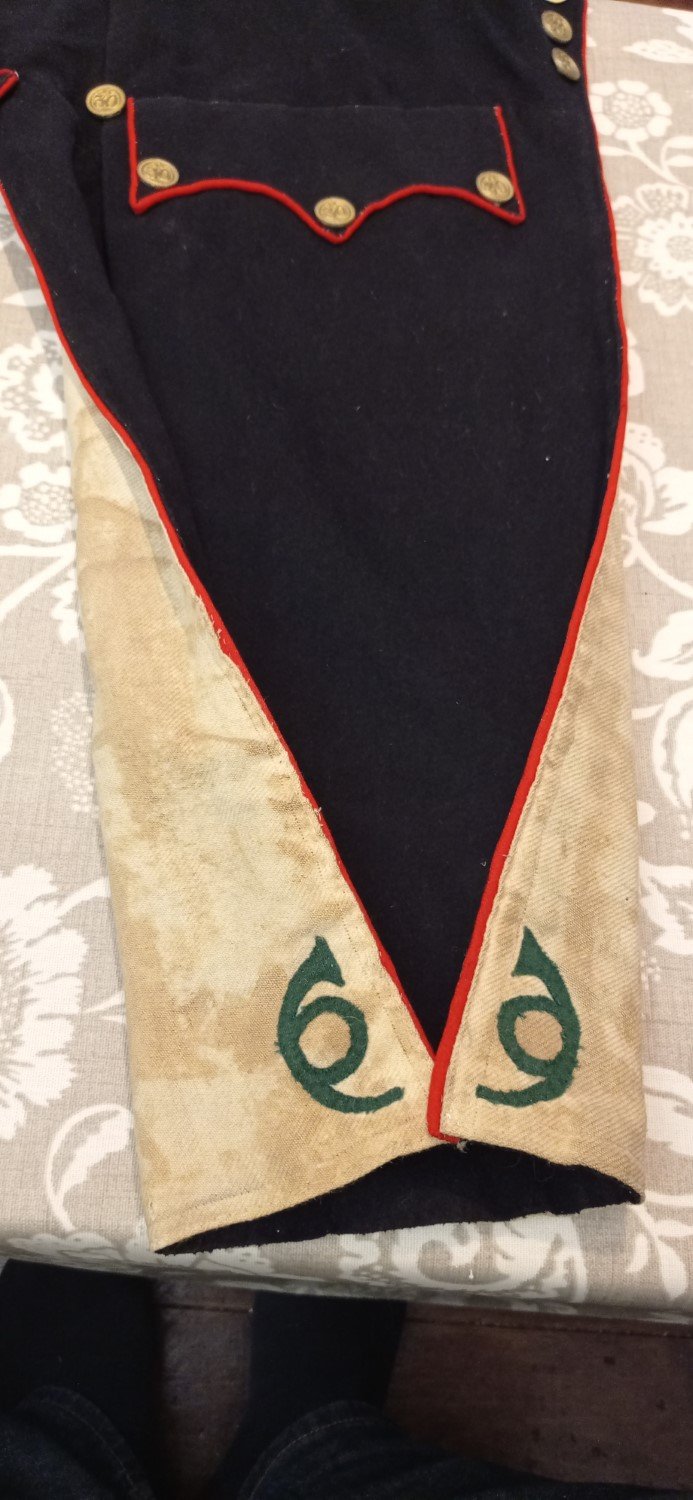
And here they are... half a dozen stitches later the tails are pinned back the way they should be. After the weekend I'll get the mud off.....
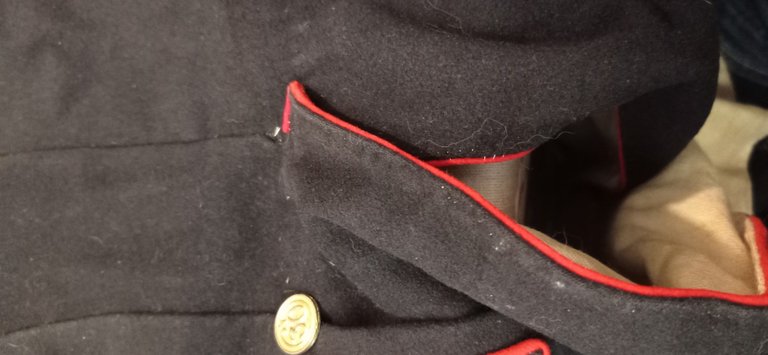
This is the join at the centreline. The corner of piping which gives it extra strength has come unstitched. Here's the "before" photo, unfortunately the "after" outside one came out too blurry to use, but it's really just half a dozen stitches to do the job. The photo below shows the inside view.
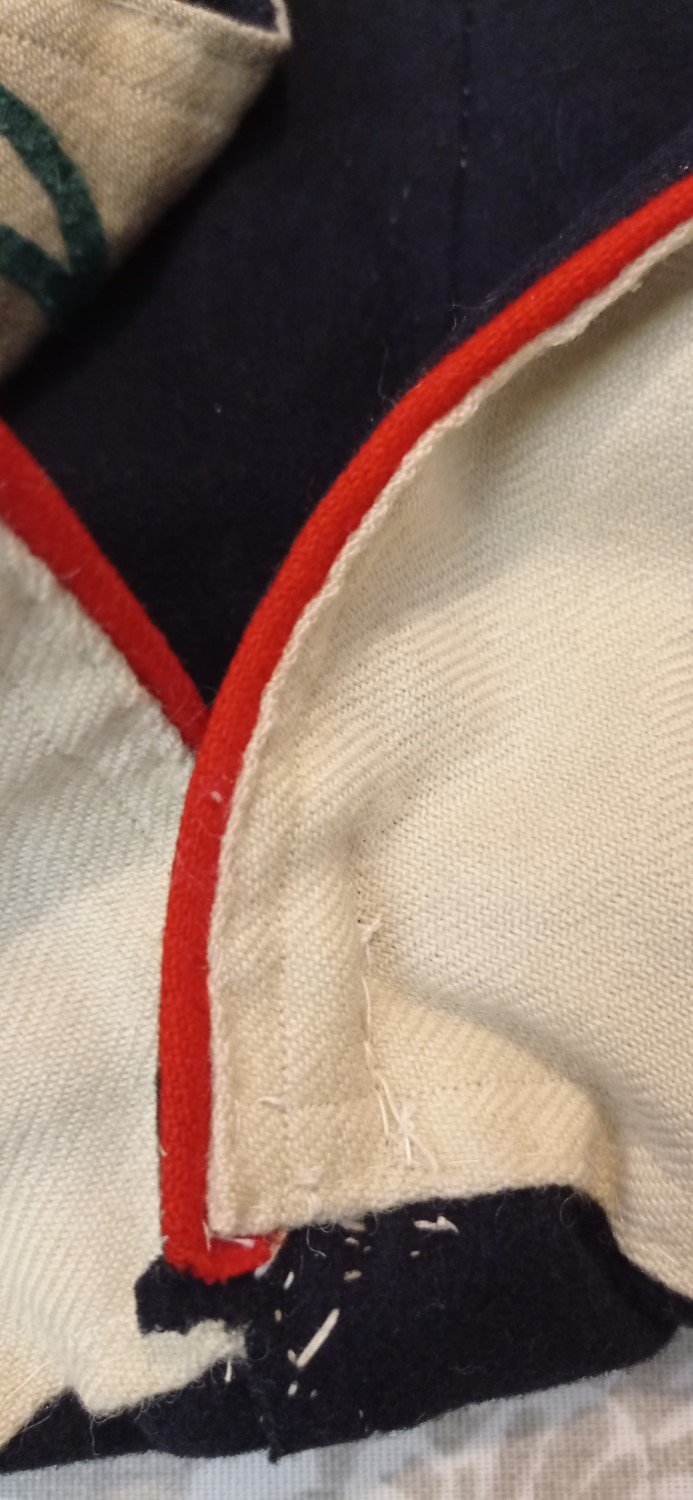
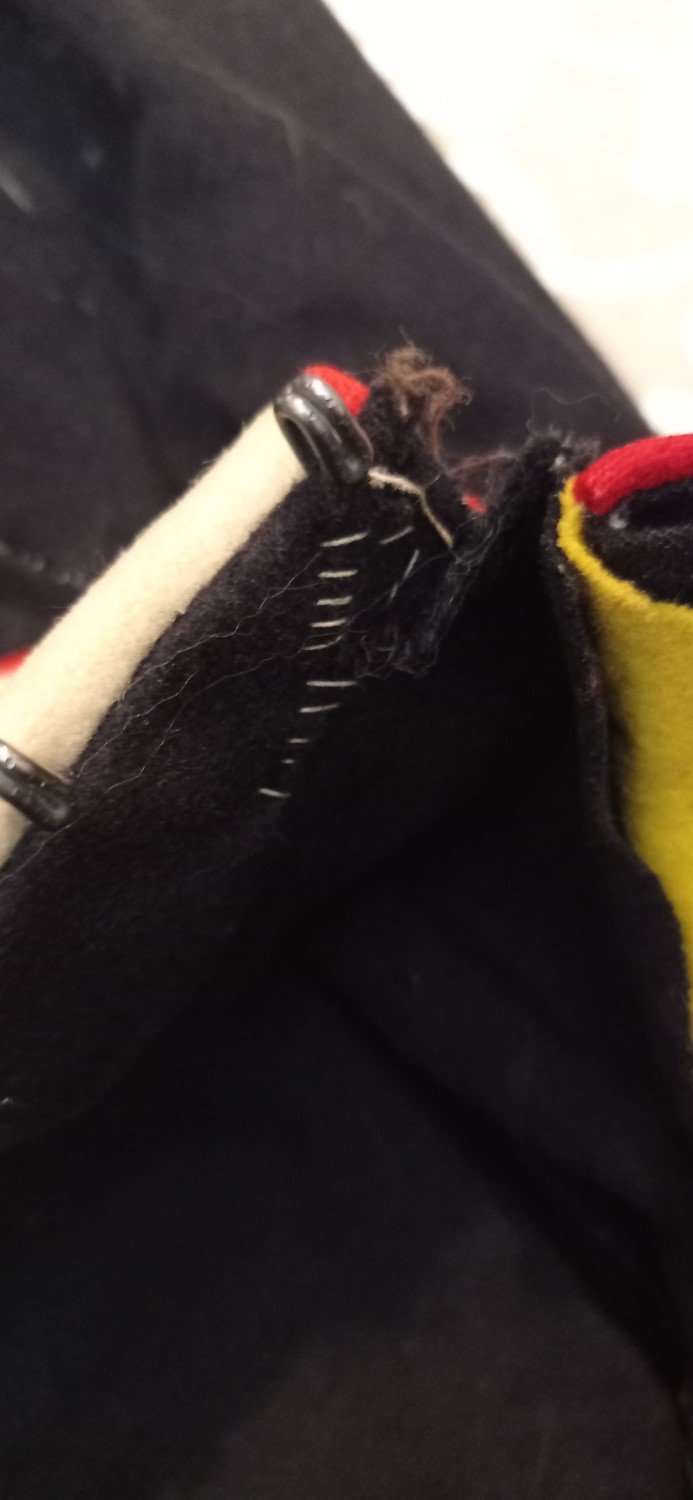
The final repair I did was to the space between the collar and lapel, where the cloth has started tearing (again...). A few stitches keep it under control for now, but it's a highly stressed area so I'll probably put a proper patch on at a later stage.
So that's the repairs done - hopefully it'll hold up for the weekend ! Once I get back, I'll make any further repairs that are needed and give it a good clean. But not a dry clean, using chemicals and detergents will take the natural oils out of the wool and reduce it's water-resistant properties.
It's great you're getting back into Napoleonic re-enactment brother.Those repairs show how much care you put into your uniform. Nice one !WINE
I’m glad you have gone back to your Napoleonic re-enactment
I wish you the best of things
I’m just hoping the repair you did between the collar and the lapel holds for a longer time.
Great job on this though and I wish all the best on re enactment.
I know very well, the repairs did their job.
Interesting! Reenactments like getting together and doing the battles and stuff?
oh wow! what a fantastic project! Well done on your needlework. I have absolutely no patience. Lol. But good for you! And you must be having so much fun with something so unique!
Thank you ! It's a fun project, combining serious research and a bit of practicality. There's a definite sense of achievement in making this kid of kit ! Luckily, I was taught how to make these by a real expert in the subject 😀
Having a great mentor really helps hey! Some things are just better learned in person 😊